Creating shipments in Shiip is easy!
1. New Shipment Click on the New Shipment button in the top right

2. Sender Details Next, manually fill out the sender details. This is the dispatch location where the shipment will be collected from.
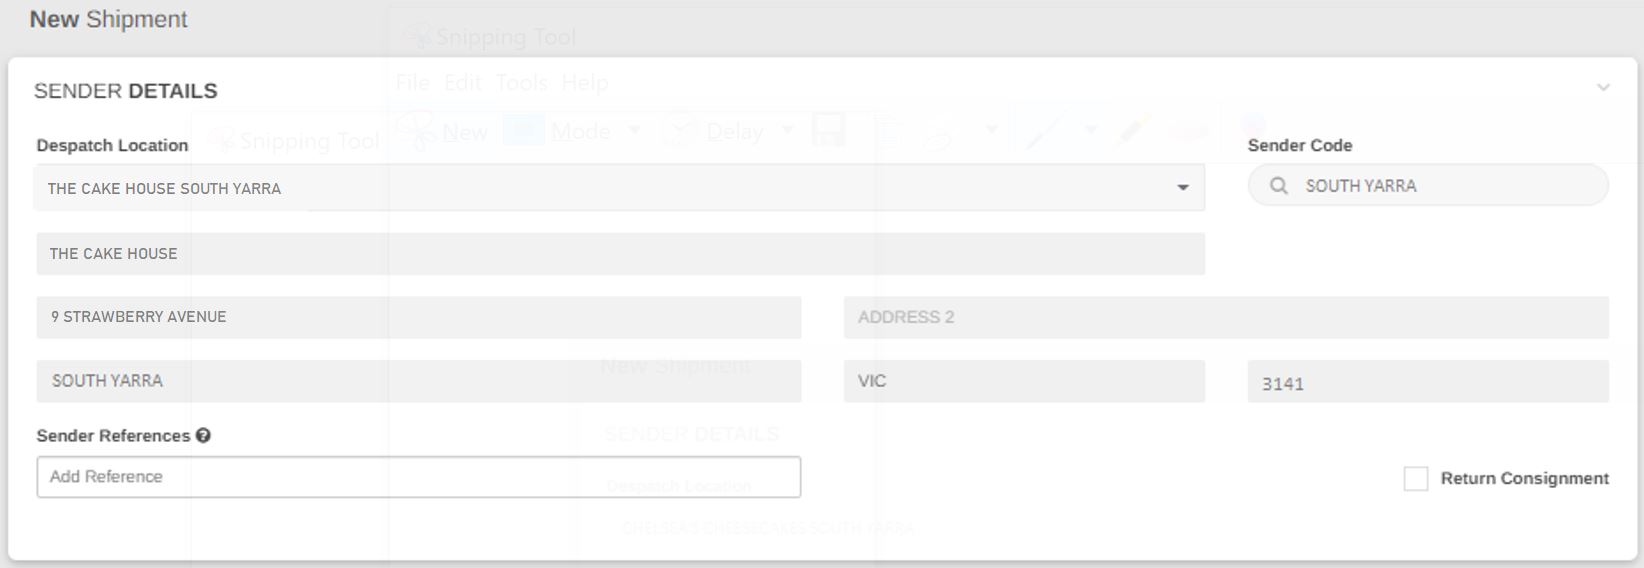
Please note you can select the drop-down box and your pre-set default company names & address will appear that have been saved in your customer profile database.
These are usually dispatch locations utilised by the customer on a regular basis and it a great time saving tip!
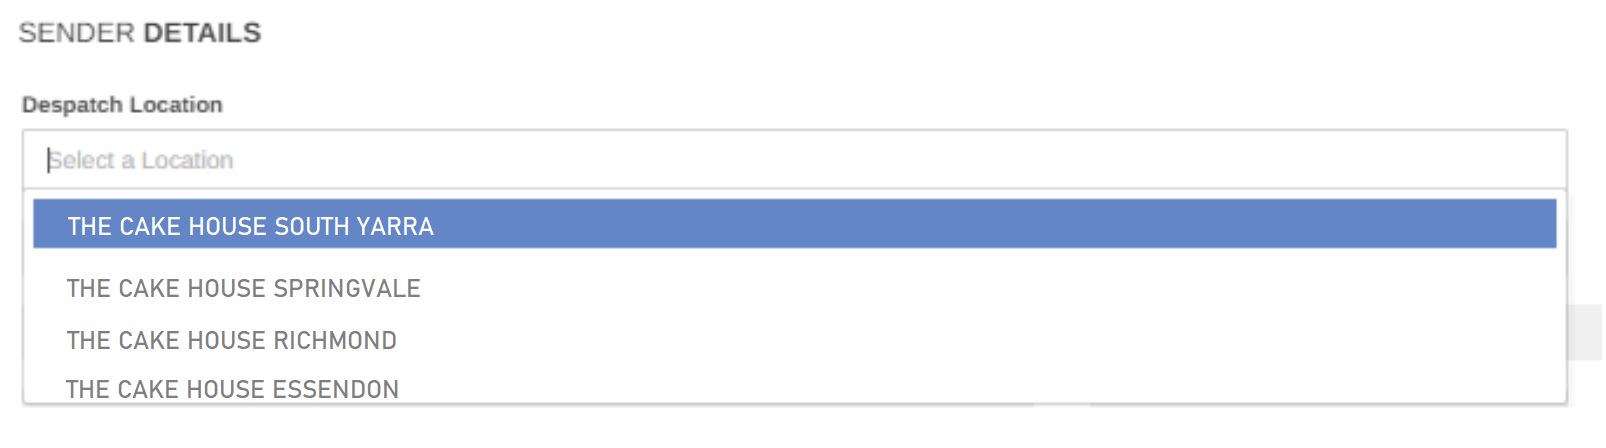
By selecting a dispatch location already in the customer’s listing, data will auto-fill Sender code, company name, and address. Please ensure you double check with all details are correct and up to date before proceeding.
Sender reference can also be applied if requested. An example that is frequently used is an order number. You can add multiple references by using commas, however, please note that only the first reference will be used in the manifest data and labels if the carrier does not support multiple references.
3. Receiver Details
Next up enter the receiver details including Receiver’s name, address, email, phone number and receiver reference can also be applied if requested.
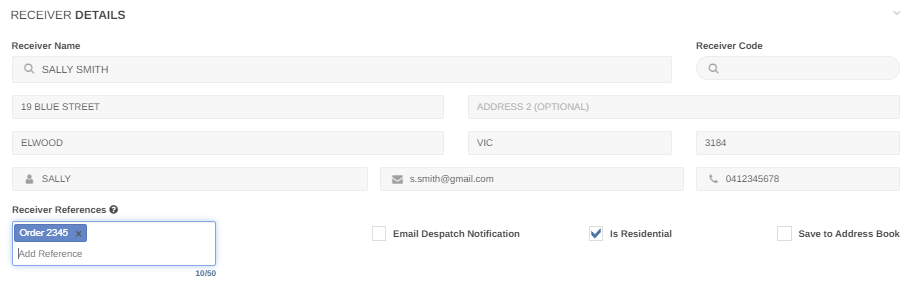 If the receiver is a reoccurring regular customer, the receiver’s location can be saved by selecting the save to address book box.
If a residential home address please check, Is residential.
Email dispatch notification uses the email previously provided, but other emails can be added to receive notifications on the progress of the consignment
You can add multiple references by using commas, however, please note that only the first reference will be used in the manifest data and labels if the carrier does not support multiple references.
4. Goods Details
It is important to correctly complete these details to ensure the right carrier, vehicles type and service is allocated to your booking.

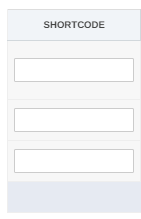
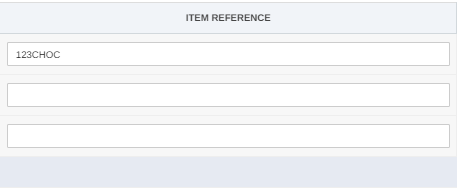
You have the option to add short codes to your profile settings. This is a great time saving tip if you have set weights and dimensions for products. The short code will match a particular item. Once a short code has been inserted, the item reference will automatically populate and fill details.
Alternatively, you can manually insert item reference. Reference must be string between 3 and 50 characters.
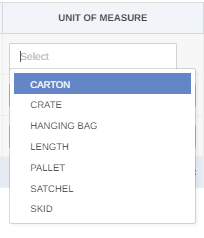
Unit of measure drop-down menu will provide you with options in which you will select the best fit. Options include carton, crate, hanging bag, length, satchel, ect.
Enter the number of eg. Cartons, that will be travelling on the connote in Quantity (QTY) box.

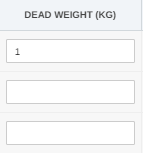
Enter the weight of the shipment in KG
Fill out the shipment dimensions- length, width, and height in CM.
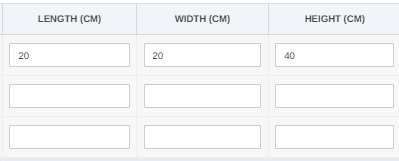
If there are multiple pieces, that vary in unit of measure, dimensions, and DG (dangerous goods), please select the + add item button which will produce multiple rows.
![]()
If the item is classed as a dangerous good, please ensure Dangerous goods toggle is selected on yes and details are correctly filled out.
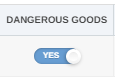
It is incredibly important correct Dangerous Goods details including class and UN number is entered to ensure the most appropriate carrier and guidelines are selected and followed accordingly.

5. Additional Details
If a particular Vehicle preference, vehicle capability and/or delivery requirement is needed to complete delivery please ensure the appropriate requirement is checked to ensure the best delivery carrier option populates as a result to fulfill customer needs.

6. Transit Details
If the shipment being generated requires a future collection time or date, simply schedule in the date to be collected.
Select Requested Collection Date.
This will populate a calendar where you can choose a future date.
Be sure to also select the time on the right hand side specifying when the shipment will be ready for the driver to collect from the premises.
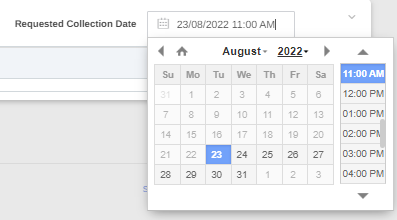
Please note the Requested collection date always defaults to the date and time you are creating the connote/booking, so if it needs to be amended to a later date or time, please do so before proceeding as the courier options will change accordingly to availability to fulfill job.
Select Get Results button to see Shiip’s best carrier options for the delivery available.
![]()
These options of carriers are filtered based on the details inputted prior including pickup and delivery address, what the commodity is, if there are any dangerous goods or other items with specific requirements such as an ID check upon delivery, and carriers’ availability to meet time deadline.
![]()
7. Special Instructions
Any additional instructions are to be noted in special instructions.
Simply select Add Special Instructions button
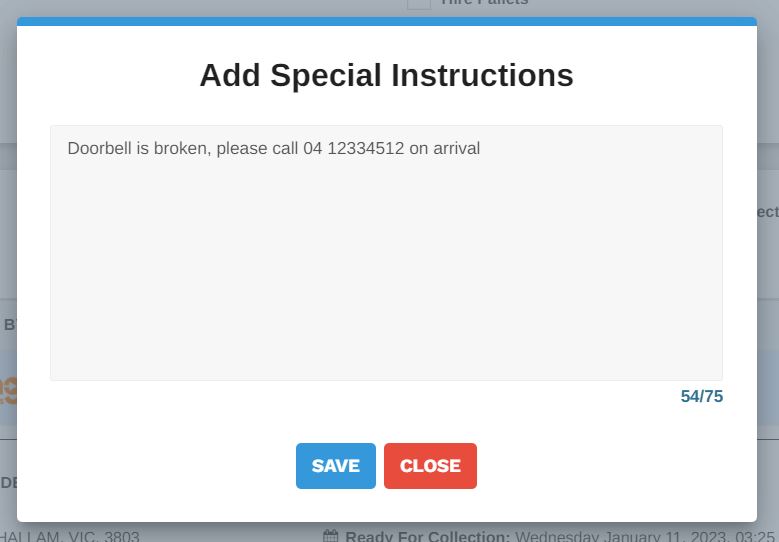
Example, store closes at 14.00. Customers doorbell is broken, please ensure to knock on door or call on 0431251335. Building with the red door, please buzz intercom on arrival.
Please ensure authority to leave box is checked in Delivery Requirements if requested by customer. They may be specific in where they want the package to be left, if so, please note instructions in special instructions box.
If delivery is taking place at a company in which requires a scheduled delivery time slot; please ensure time slot delivery is checked in Delivery Requirements and note time-frame slot in special instructions box.
Select your preferred option
8. Saving the connote
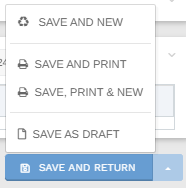
Save and return: Saves the consignment and moves back to the consignment list screen.
Save and new: saves the consignment and opens a new consignment screen.
Save and print: saves the consignment, prints a label, then changes back to the consignment list screen (default label in settings).
Save print and new: saves the consignment, prints a label, and opens a new consignment screen.
Save as draft: Saves the data entered thus far, and allows you to edit and submit at a later date. Please notes this is not submitted or completed (can be found in the incomplete option in the list screen).
Discard: Removes all data entered and opens a new consignment screen.
Try it yourself! https://shiip.com/login