Utilise the Shiip estimator to produce a cost estimation for jobs in a click of a button!
- Select Shiip Estimator from the top main navigation menu
2. Start by entering the Despatch Location details
You may select from the drop down option of pre-saved locations from your profile, or alternatively manually data enter Suburb, State and Postcode of Despatch Location.

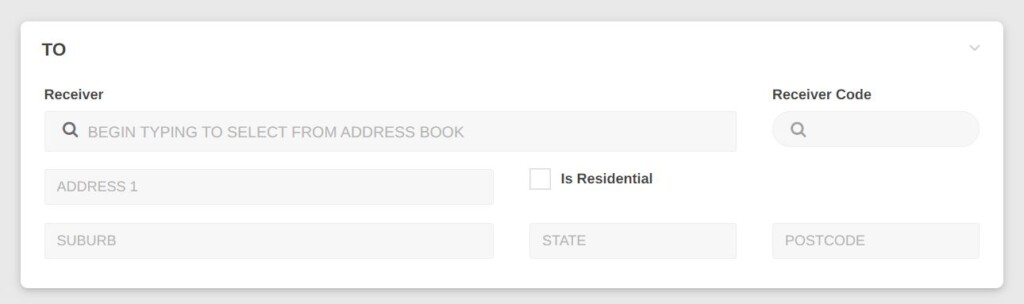
3. Next, enter the Receiver Location Details
You may select from the drop down option of pre-saved locations from your profile, or alternatively manually data enter Suburb, State and Postcode of Receiver Location.
If the delivery address is residential, be sure to check Is Residential as this can affect the end carrier result.
4. Enter the Good Details
It is important details are filled out accurately to ensure the estimate is based on the most appropriate carrier, vehicle and service for the job.

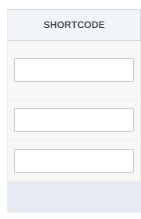
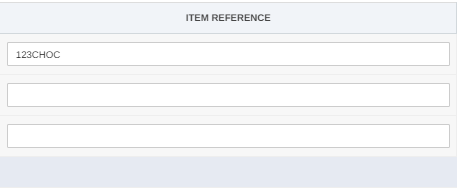
You have the option to add short codes your profile settings. This is a great time saving tip if you have set weights and dimensions for products. The short code will match a particular item. Once a short code has been inserted, the item reference will automatically populate and fill details.
Alternatively, you can manually insert item reference. Reference must be string between 3 and 50 characters.
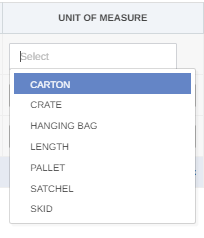
Unit of measure drop-down menu will provide you with options in which you will select the best fit. Options include carton, crate, hanging bag, length, pallet, satchel and skid.
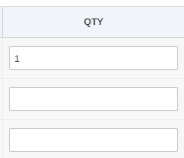
Enter the number of eg. Cartons, that will be travelling on the connote in Quantity (QTY) box.
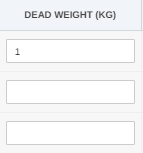
Enter the weight of the shipment in KG
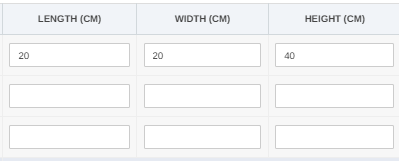
Fill out the shipment dimensions- length, width, and height in CM.
If there are multiple pieces, that vary in unit of measure, dimensions, and DG (dangerous goods), please select the + add item button which will produce multiple rows.

If the item is classed as a dangerous good, please ensure Dangerous goods toggle is selected on yes and details are correctly filled out.
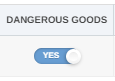
It is incredibly important correct Dangerous Goods details including class and UN number is entered to ensure the most appropriate carrier and guidelines are selected and followed accordingly.

Under the section Estimates be sure to add any Additional Options / Services if applicable to the job, otherwise you can skip this step.
This includes Vehicle Preference, Vehicle Capabilities, and Delivery Requirements.
Simply select, Additional options to view:

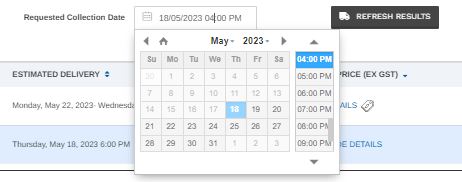
The Requested Collection Date will always default to the time and date estimate is being produced. If it is for a future time or date be sure to adjust by selecting the Date and Time.
This will populate a calendar where you can choose a future date and time. This will allow for a more accurate estimate price as prices fluctuate depending on time, day and availability.
Available options for the job with populate under the section titled Estimates based on the details you entered prior.
6. After the estimates have been populated, you have the option to start over and generate a new estimate by selecting the Start Over button of the bottom left hand side, or alternatively, if you would like to proceed with the job created in your estimate, select New connote from Estimate button on the bottom right hand side.

7. If New connote from Estimate is selected you will be redirected to the New Shipment page.
If you need any assistance on how to create a new Shipment check out our Creating Shipments Guide Here ! https://knowledge.shiip.com/article/creating-shipments/